Illustrator - Opacity Masks
Creating highlights
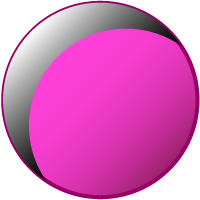
We are going to create a shape with a highlight using an opacity mask. If you would like to work through the example there is an illustrator file for this example.
What is an opacity mask?
An opacity mask allows you to mask off an area of an object and then selectively let whatever is underneath show through. The word opacity is a measure of how see-through an object is. The more opaque it is the less see-through it is. So adding a mask means that you are allowing some light through but not all. This is very useful for creating a realistic light effect. In the real world light defines a shape by the way it reflects off it. In Illustrator we can get very close to this by using opacity masks.The anatomy of an opacity mask
Think of an opacity mask like a sandwich. You first you have the base shape. In this case it is a circle with a simple gradient and stroke applied to it:
Then there is the highlight that you want to show through. In this case I’ve used the pathfinder panel to create this highlight shape but you use the pen tool or anything.

Then comes a layer to control the opacity. I’ve copied the highlight shape and filled it with a black to white gradient. When we apply the opacity mask white will show through and black will be masked so I’ve mimicked the light source coming from the top left.

Seen in 3D the layers stack up like this:

Making the opacity mask
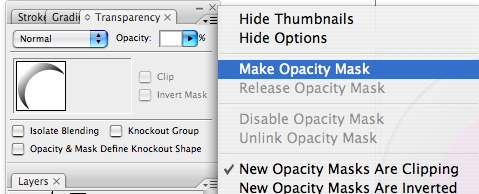
To make the opacity mask select both the highlight and gradient layers. call up the the Transparency Panel (Window > Transparency). In the top right hand corner is a flyout menu where you can click Create Opacity Mask.
That’s all there is to it. This is just one way you can create realistic light effects in Illustrator.

If you haven’t yet got a copy of the illustrator file you can get it here.
No comments:
Post a Comment